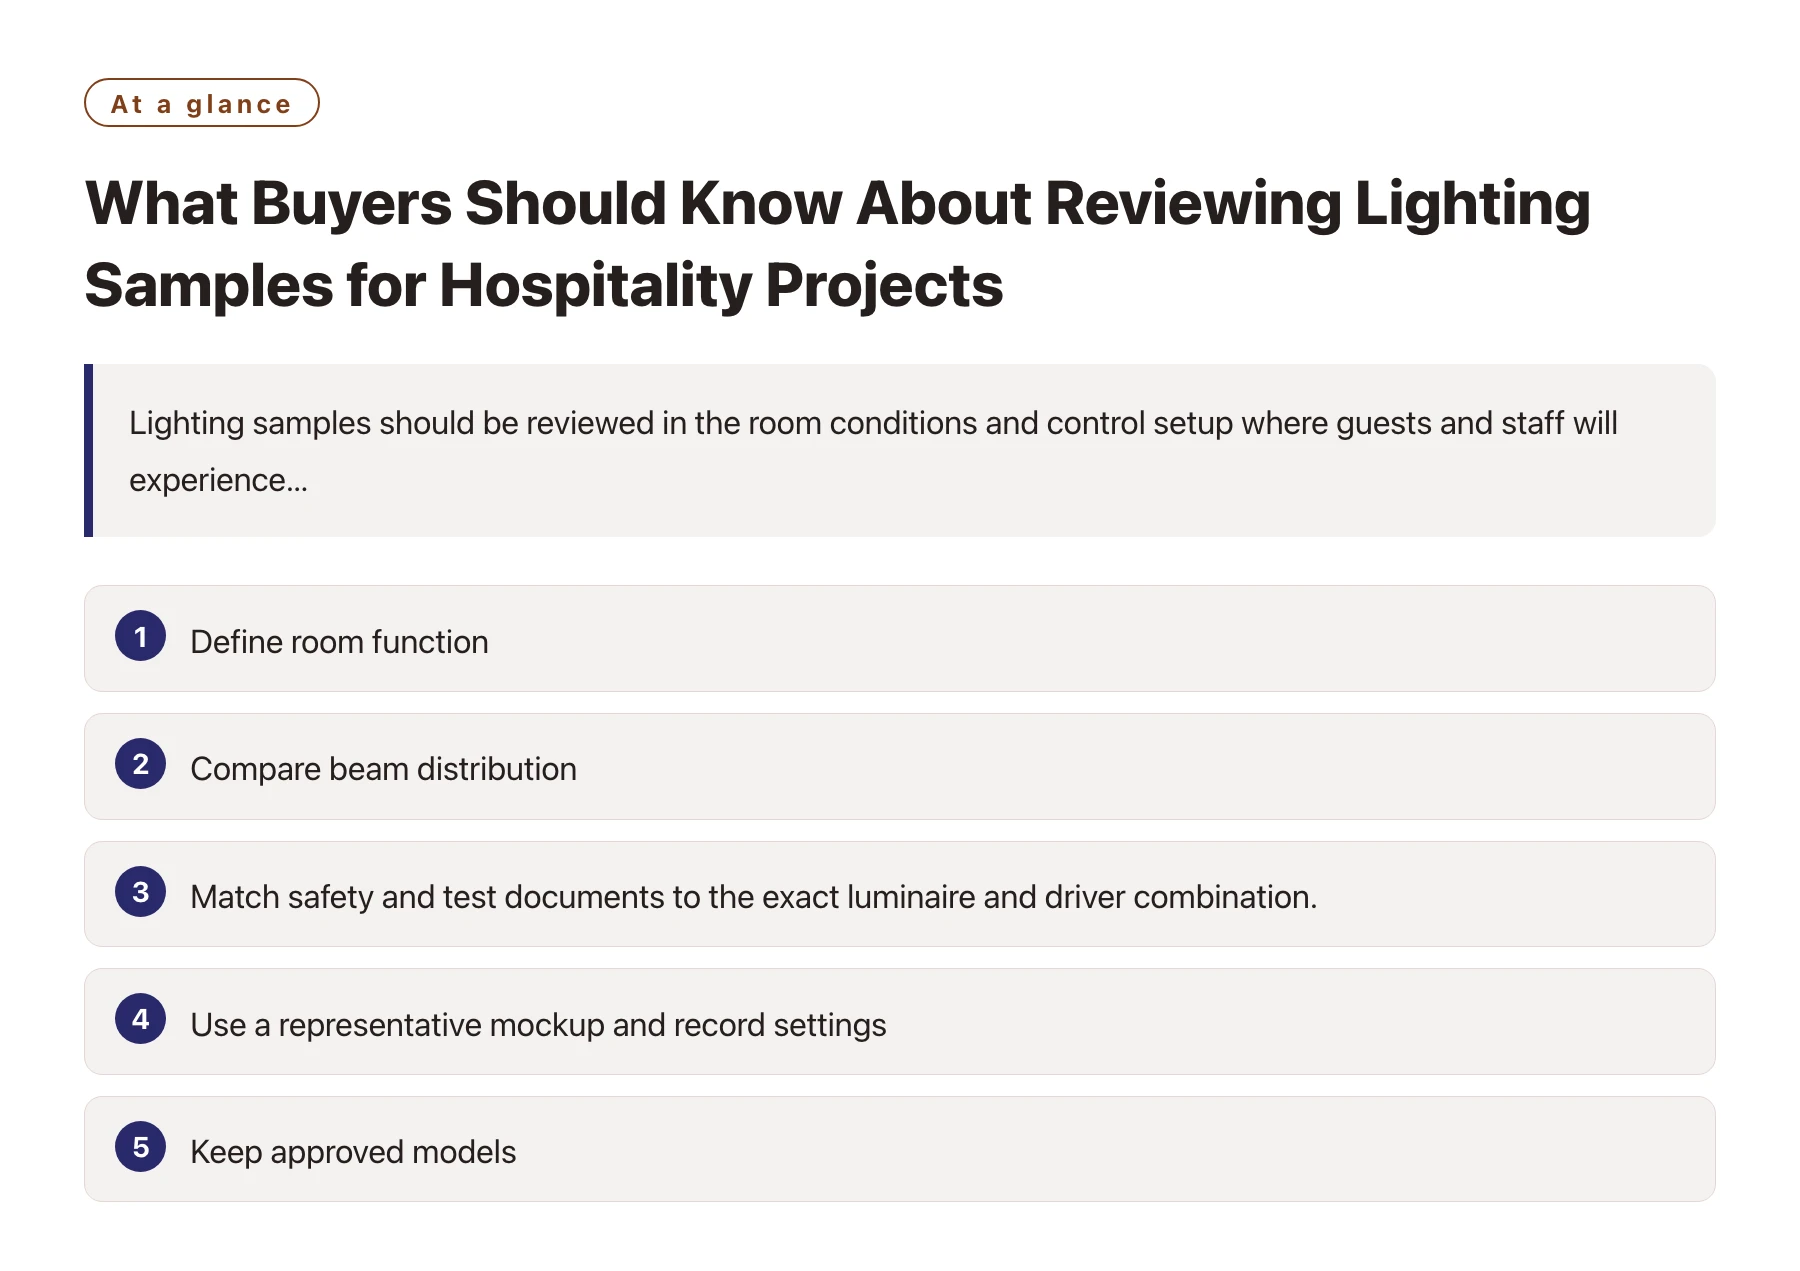
Lighting samples should be reviewed in the room conditions and control setup where guests and staff will experience them. A sample can look attractive on a supplier table yet produce glare, inconsistent color, poor dimming, or difficult maintenance after installation. Agree on measurable requirements, test conditions, and approval authority before comparing quotations.
Key takeaways
- Define room function, ceiling, mounting, ambient conditions, and control system.
- Compare beam distribution, output, color appearance, glare, dimming, and finish.
- Match safety and test documents to the exact luminaire and driver combination.
- Use a representative mockup and record settings, measurements, and observations.
- Keep approved models, control gear, spares, and revisions traceable through delivery.
Comparable offers begin with a controlled product definition, a clear evidence request, and an agreed decision owner.
1. Start with the guest experience and room task
Record the room type, task, ceiling height, mounting position, surface colors, daylight, operating hours, and maintenance access. A guestroom reading light, corridor downlight, lobby feature pendant, and back-of-house fitting serve different needs. State whether the design prioritizes ambient illumination, task visibility, wayfinding, accent, or a combination.
Share the reflected ceiling plan and identify dimming, switching, emergency, sensor, and building-control interfaces. Suppliers need the same inputs to propose comparable optics and drivers. Flag accessibility, cleaning, fire strategy, and local electrical requirements for the project team to resolve.
2. Normalize the luminaire configuration
Write each offer as a complete bill of materials: housing, optical assembly, LED module, driver, controls, trim, mounting hardware, finish, accessories, and cable or connector. Record model code and revision. A family name alone may hide different optics, output, color temperature, driver versions, or dimming protocols.
Ask whether quoted performance belongs to the complete luminaire or a bare light source. Identify which components are replaceable and whether a substitute changes photometry, warranty, safety file, or service method. Include the exact option codes in the sample label and quotation comparison.
3. Review light distribution and visual comfort
Request photometric data for the offered optical configuration and check it against the project calculation. Compare delivered output, beam distribution, cutoff, uniformity, and glare under the actual aiming and mounting conditions. For decorative luminaires, review both appearance when lit and when switched off.
Use the project’s chosen criteria for color appearance, color consistency, and color rendering. State tolerances and measurement method rather than relying on a broad “warm white” description. Check the sample beside the specified surfaces, fabrics, wood finishes, and neighboring fittings.
4. Test dimming and controls as a system
Connect the sample to the proposed control gear, dimmer, gateway, sensor, and representative wiring. Check startup, low-end stability, flicker concerns, audible noise, scene changes, fade behavior, and recovery after power cycling. Record exact settings and firmware or control version where applicable.
A driver may behave differently with a control system than on a bench supply. Have the electrical designer or controls specialist approve compatibility and define the commissioning settings. Do not accept a supplier’s generic compatibility list as proof that the project’s exact combination has been tested.
5. Match safety evidence to the exact product
IEC 60598-1:2024 sets general safety requirements and tests for luminaires, including classification, marking, mechanical and electrical construction, and photobiological safety. Confirm the applicable edition and destination-market rules with the project’s compliance owner; the standard does not replace product-specific review or local regulatory obligations. [1]
Request reports or certificates with the luminaire model, driver, LED module, construction revision, market, laboratory, and test scope. Confirm labels, wiring diagrams, installation instructions, ingress protection claims where relevant, and any emergency or control options. An apparently identical housing can contain materially different electrical components.
6. Build a representative room mockup
Select a room or test bay that represents the intended ceiling, finishes, mounting geometry, controls, and daylight condition. Install the complete proposed luminaire and document height, spacing, aiming, scene, and measured settings. Invite design, operations, housekeeping, and maintenance representatives to review the same setup.
Record visual observations and agreed measurements under repeatable conditions. If the design changes after approval, mark which optics, output, color, control, or finish require re-review. A single sample demonstrates only its own configuration and review conditions.
7. Compare durability and maintenance
Ask about rated operating conditions, thermal management, replacement parts, cleaning access, driver location, and expected service procedure. For decorative finishes, define appearance expectations, sample reference, cleaning agents, and accepted variation. Review installation clearances and whether ceiling access remains possible after the room is complete.
Compare warranty scope, spare part availability, lead time, product continuity, and who supports commissioning. Consider the cost and disruption of replacing a driver or optical component over the hotel’s expected operating period. Request a written service route for failures after handover.
8. Align the sample, submittal, and purchase order
Create an approval record naming model, revision, finish, LED and driver codes, control interface, photometric file, test evidence, mockup settings, and unresolved exceptions. Separate aesthetic sign-off from electrical compliance and project calculation approval. Assign the proper technical owner to each decision.
Require written approval before any substitution of LED board, driver, optics, finish, factory, or control equipment. Link the purchase order, submittal, inspection plan, and shipping labels to one revision so receiving teams can check identity.
9. Plan delivery and installation checks
For arrival checks, verify quantities, model labels, accessories, finish condition, cartons, and documentation. During installation, confirm mounting, wiring, aiming, control addressing, and representative function. Use qualified electrical personnel for energized work and follow project safety procedures.
Buyers comparing hotel lighting sourcing can align supplier proposals to one room schedule and request the evidence and sample configuration for each item. Close defects with an owner, deadline, and reinspection record before rooms are handed over.
Sources
Frequently asked questions
Should every hotel light be approved in a room mockup?
Use a mockup for fittings or combinations that materially affect appearance, glare, controls, or maintenance. Document which models it covers and which still need separate review.
What documents should accompany a lighting sample?
Request model and revision, photometric data, wiring and control details, installation instructions, labels, warranty, and applicable safety reports for the exact configuration.
Can an LED module be changed after sample approval?
Only through documented review. A different module can affect output, color, heat, compatibility, test scope, and service parts.
How should lighting quotes be compared?
Normalize complete model codes, optics, output, color, drivers, controls, finishes, accessories, testing, warranty, spares, delivery, and exclusions.